Angkot Simulator Mods & Routes Tier List
Priority rankings for bodykits, rims, liveries, and Big City loop routes.
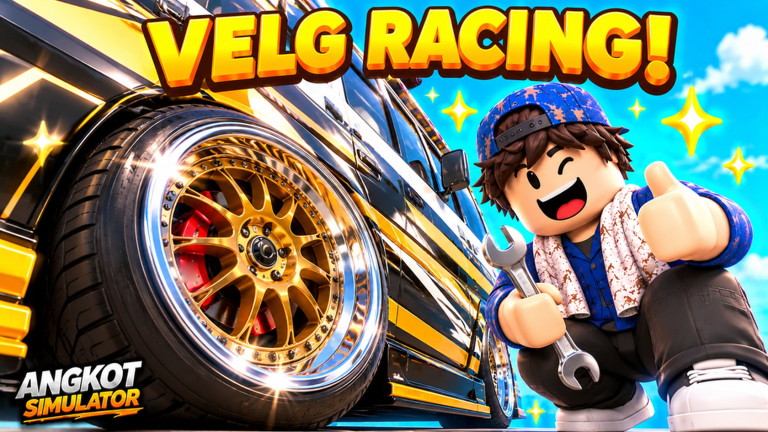
This Tier List Hub ranks how Angkot Simulator players should think about garage mods and route choice after the Big City Update. The game is not a fighter roster—your “meta” is which of the 70+ mods (bodykits, rims, liveries, LED, suspension, party interior) you buy first, which of the nine loop routes you master, and how presentation helps when friends screenshot Top Spenders boards. Use this page with Guides, Getting Started, and Players so cash from Codes is not wasted on low-impact cosmetics.
How we rank (criteria)
- Income impact — does the choice help you complete loops faster, tip more often, or look intentional while grinding fares?
- Early-game value — useful with tutorial Rp 150.000 plus early code cash before you are Top Spender rich.
- Flex / identity — windshield name, livery, LED, and party interior matter for clips and leaderboard screenshots even when they do not raise base fare.
- Garage slots — you can save up to three styles free; treat each slot as a loadout (grind / night flex / event) instead of random duplicates.
Tiers below are priority bands, not permanent balance patches. Revisit after major Updates.
Mod priority tiers
S-tier — buy or unlock early
- Practical bodykits that keep visibility clean — kits that do not block mirrors or stop awareness help you hit passenger nodes with GPS + minimap still readable.
- Readable liveries — bold, high-contrast wraps make your angkot easy to spot in busy Sudirman or harbour traffic and look better on leaderboard montages.
- Suspension setups you can control — stability on Puncak hills and industry roads beats bounce that throws granny tips away.
A-tier — strong once basics are funded
- Rims — big visual upgrade per Rupiah; pair with a livery so the garage style feels finished.
- LED packages — excellent for night loops near beach and stadium lighting; flex-heavy without replacing driving skill.
- Windshield name presentation — not a “mod pack” by itself, but treating name + livery as one identity is A-tier social value.
B-tier — fun, situational
- Party interior — great for friend sessions and screenshots; low impact on raw fare per hour.
- Extreme bodykits — stylish, but only after you already clear routes without scraping terminals.
C-tier — later / vanity last
- Duplicate near-identical liveries that burn cash you could spend on a second garage style.
- Stacking every LED variant before you own a stable grind setup.
Remember: friends give +10% fare each—social routing often beats one more cosmetic SKU.
Route priority tiers (Big City loops)
The map is roughly 5 km of city fabric: Sudirman, campus, harbour, industry, stadium, train station, beach, Puncak hills, plus terminals tying the nine loop routes together. Exact payout numbers shift with passenger density and your driving, so tiers emphasize learning order and consistency.
S-tier learning routes
- Central business / Sudirman-style loops — dense stops, strong tutorial carry-over, GPS lines are easier to internalize.
- Campus ↔ transit connectors — steady passenger flow; good for practicing gentle stops that earn granny tips.
A-tier money and variety
- Harbour and industry loops — longer hauls, good once you trust minimap turns and terminal entries.
- Stadium / event corridors — spike traffic when servers feel busy; pair with LED flex for night sessions.
B-tier scenic / skill routes
- Beach loops — fun pacing, slightly more room to miss timing if you sightseeing.
- Puncak hills — rewarding views and suspension tests; save until your control is stable so you do not lose tips on rough driving.
Terminal discipline (all tiers)
Mastering terminals matters more than chasing a single “best” street. Clean terminal turns keep loop time low and reduce collisions that wipe a good fare streak. Use GPS + minimap religiously until muscle memory lands.
Suggested unlock order (first hours)
- Finish tutorial, claim starter Rp 150.000, redeem live codes.
- Pick one S-tier central loop and run it until stops feel automatic.
- Save garage style #1 as your grind look (clean livery + stable suspension).
- Add rims / LED when daily rewards and missions refill the wallet.
- Open style #2 for night flex, style #3 for experiments—do not overwrite your earner.
- Climb driver levels and peek at Players boards for inspiration, not pressure.
Cross-links inside the wiki
- New to the game? Start at Getting Started and the Guides Hub.
- Want patch context for map landmarks? Read Updates.
- Curious about risky auto-farm shortcuts? Read why we list none on Scripts.
- Official Roblox place and group: Official Links.
Deep-dive subpages
- Best Mods — S–F rankings for suspension, bodykits, rims, liveries, LED, and party interiors across earning vs flex goals.
- Best Routes — early/mid/late money loops plus scenic picks, paired with the Routes & Map atlas.
Treat the summary tiers above as the quick checklist, then open those siblings when you are ready to spend a full payday or plan a night of loops.
Frequently Asked Questions
Quick answers to the most common questions.
What should I unlock first in the Angkot Simulator garage?
Prioritize a clean, readable livery and stable suspension you can control, then rims and LED. Save party interiors and extreme kits until your main grind loop is comfortable.
Which Big City routes are best for beginners?
Start with dense central / Sudirman-style and campus–transit loops so GPS habits form quickly, then expand to harbour, industry, stadium, beach, and Puncak hills.
Do mods increase fare percentage?
Treat most cosmetics as identity and confidence upgrades. Reliable income still comes from clean loops, granny tips, missions, and the +10% fare bonus per friend.
How many garage styles should I save?
You can save up to three styles for free—keep one grind setup, one flex/night look, and one experimental slot instead of three near-copies.
Where do I see what rich players drive?
Check global leaderboards and Top Spenders via the Players hub, then copy ideas—not unpaid script shortcuts.